
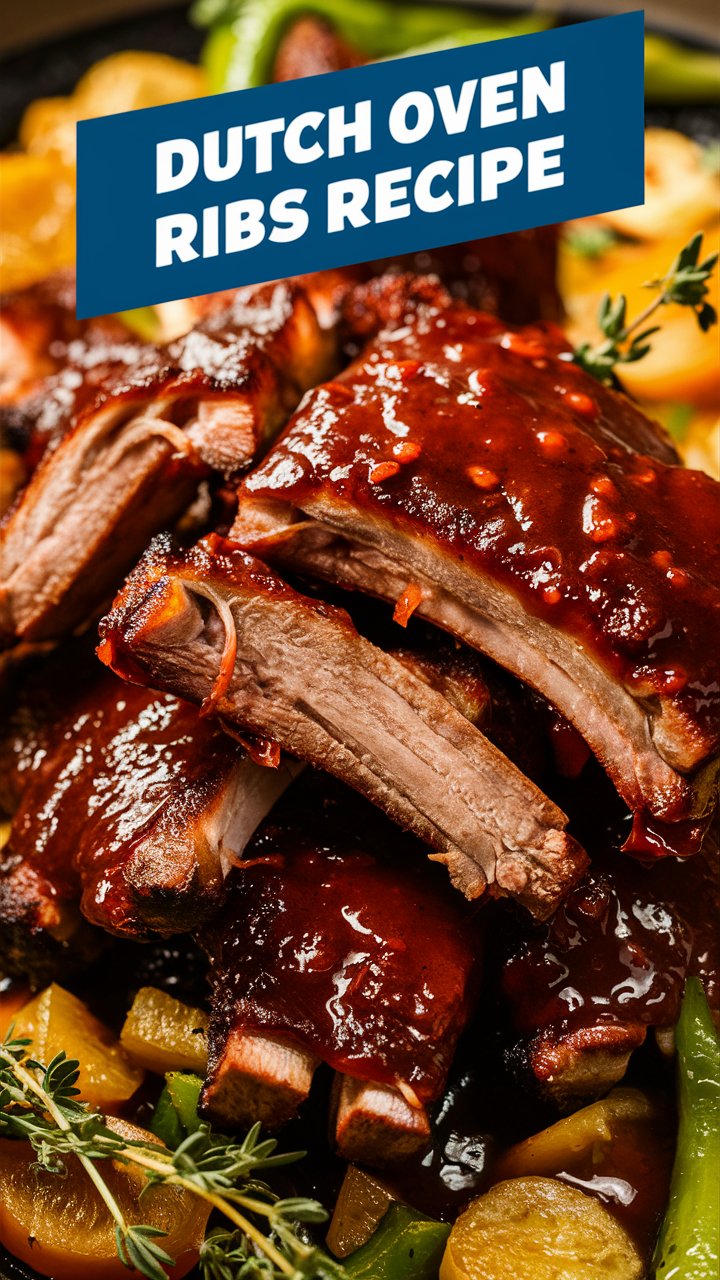
Ribs are the kind of meal that brings people together—rich, savory, and dripping with sauce. But not all ribs are created equal. While grilling has long been the traditional go-to, there’s a method that’s foolproof, beginner-friendly, and doesn’t require fancy equipment: Dutch oven ribs.
Whether you’re preparing dinner for your family or hosting a special gathering, learning how to make Dutch oven ribs that fall off the bone will change your cooking game forever. In this in-depth guide, we’ll take you from prep to plate—covering ingredients, techniques, tips, storage, variations, and much more.
1. What Makes Dutch Oven Ribs So Special?
Dutch oven ribs bring the best of all worlds: juicy, tender meat and robust, layered flavor—without the need for a smoker or grill. Here’s why this method shines:
- Moisture retention: The heavy lid locks in moisture, allowing the meat to slowly braise.
- One-pot simplicity: No juggling pans or cleaning grills.
- Perfect for beginners: Minimal fuss, high success rate.
- Year-round cooking: Weather doesn’t matter when the oven does the work.
This method transforms tougher cuts of meat into melt-in-your-mouth magic. It’s not just cooking—it’s culinary alchemy.
2. Choosing the Right Ribs: Baby Back vs. Spare Ribs
Before you begin, it’s essential to know the differences between the two most popular cuts:
Baby Back Ribs
- More tender
- Lean and curved
- Cooks slightly faster
- Ideal for beginners
Spare Ribs
- More flavorful
- Flatter and meatier
- Require longer cooking time
- Preferred for smoky, BBQ-style finishes
Both work beautifully in a Dutch oven—choose based on your flavor and texture preferences.
3. Must-Have Ingredients and Equipment
Ingredients:
- 1 rack of ribs (2–3 pounds)
- 1 large onion, sliced
- 1½ cups beef or chicken broth
- 1 cup BBQ sauce (store-bought or homemade)
- Olive oil (optional)
For the Dry Rub:
- 1 tbsp smoked paprika
- 1 tbsp garlic powder
- 1 tbsp ground mustard
- 1 tsp onion powder
- 1–2 tbsp brown sugar or coconut sugar
- ½ tsp cayenne pepper
- 1 tsp dried oregano
- 1 tsp salt
- 1 tsp black pepper
Equipment:
- 6–7 qt Dutch oven (enameled or cast iron)
- Oven mitts
- Sharp knife
- Basting brush
4. How to Prepare Ribs for Cooking
Step 1: Remove the Membrane
Turn the ribs over (bone side up) and slide a butter knife under the white membrane. Use a paper towel to grip and peel it off. This step allows the rub and sauce to penetrate more deeply.
Step 2: Cut the Ribs
Cut the rack into 3–4 rib sections so they fit comfortably in your Dutch oven.
Step 3: Dry the Surface
Use paper towels to pat the ribs dry—this helps the seasoning stick better and promotes browning.
Step 4: Apply the Dry Rub
Combine all the dry rub ingredients. Massage generously onto both sides of each rib section. Let sit for 30 minutes (or overnight in the fridge) for deeper flavor.
5. The Step-by-Step Dutch Oven Cooking Process
Step 1: Preheat the Oven
Set your oven to 325°F (165°C).
Step 2: Layer the Dutch Oven
Place sliced onions on the bottom. Pour broth over the onions.
Step 3: Add Ribs
Layer ribs on top of the onions, meaty side up. Do not stack them tightly—leave space for air and steam.
Step 4: Slow Cook
Cover with the lid and cook in the oven for 2 to 2½ hours. The meat should be fork-tender and starting to pull away from the bones.
Step 5: Add BBQ Sauce
Increase oven temp to 425°F (220°C). Remove the lid and brush the ribs with BBQ sauce. Return to the oven, uncovered, for 10–15 minutes until the sauce caramelizes.
Step 6: Rest and Serve
Let ribs rest for 10 minutes before slicing. Serve hot with extra sauce.
6. Customizing Your Dry Rub and Sauce
Don’t be afraid to personalize your flavors:
Flavor Variations:
- Sweet & Spicy: Add honey and chili flakes.
- Smoky Bourbon: Mix a shot of bourbon into your BBQ sauce.
- Asian-Inspired: Swap BBQ for hoisin, soy sauce, garlic, and ginger.
Sugar Alternatives:
- Maple sugar
- Date sugar
- Coconut sugar
You can also add a touch of cocoa powder or espresso to your rub for a rich, earthy undertone.
7. Common Mistakes to Avoid
- Skipping membrane removal: Leaves a chewy layer.
- Overcrowding the pot: Inhibits even cooking.
- Under-seasoning: Ribs need a generous rub for bold flavor.
- Not caramelizing the sauce: Skipping this final step leads to a flat finish.
- Using too much liquid: You want a braise, not a boil.
8. Serving Suggestions and Side Dishes
Dutch oven ribs pair beautifully with a variety of sides. Here are a few ideas:
Comfort Food Classic:
- Mashed potatoes
- Cornbread
- Coleslaw
BBQ Feast:
- Baked beans
- Macaroni and cheese
- Grilled corn
Lighter Fare:
- Roasted Brussels sprouts
- Quinoa salad
- Grilled asparagus
Garnish with parsley or green onions for a fresh contrast.
9. Storing and Reheating Leftovers
Refrigeration:
- Store in airtight containers for up to 4 days.
- Keep sauce separate for best texture.
Freezing:
- Wrap ribs tightly in foil, then in freezer-safe bags.
- Freeze for up to 3 months.
Reheating:
- Oven: 275°F with a splash of broth, covered, 20 mins.
- Microwave: Use 50% power with a damp paper towel to avoid drying out.
10. Ribs FAQs: Answering Common Questions
Can I make Dutch oven ribs ahead of time?
Absolutely. They reheat wonderfully and the flavors deepen overnight.
Can I use a slow cooker instead?
Yes. Cook on low for 6–8 hours, then finish under the broiler or on a grill for caramelization.
What if I don’t have broth?
Use water with a splash of vinegar, wine, or soy sauce for flavor.
Can I make this recipe on the stovetop?
Yes, simmer on low for 2–3 hours with the lid slightly ajar, then finish in the oven.
11. Pro Tips from the Kitchen
- Use smoked paprika for maximum flavor.
- Let ribs rest before slicing—this keeps juices locked in.
- Add aromatics like bay leaves or thyme sprigs to the broth.
- Test for doneness by gently twisting a bone—it should come loose easily.
- Don’t lift the lid too often—you’ll lose valuable heat and moisture.
12. Final Thoughts: Why Dutch Oven Ribs Always Win
In a world full of fast food and takeout, there’s something deeply satisfying about preparing a home-cooked meal that feels like a celebration. Dutch oven ribs combine the soul of traditional barbecue with the practicality of home cooking. They’re forgiving, flavorful, and fantastically easy.
From the rich spice rub to the juicy braise and sticky sauce finish, every step of this recipe is designed to build flavor and texture. And best of all, you don’t need to be a professional chef or pitmaster—just someone with a Dutch oven and a little patience.
Whether it’s your first time or your fiftieth, this recipe promises results you can rely on. Serve it once, and it’ll become your signature dish for years to come.