
There’s a certain magic in desserts that don’t require an oven—especially when they’re vibrant, nostalgic, and irresistibly tasty. The No-Bake Licorice Allsorts Slice isn’t just another sweet treat. It’s a celebration of texture, color, and the joy of simple home baking. This recipe is the perfect blend of convenience and creativity, offering a visually delightful dessert that’s easy to make and even easier to love.
In this detailed guide, we’ll take you on a flavorful journey through every aspect of creating the perfect no-bake licorice slice—from ingredients and step-by-step instructions to expert tips, storage hacks, and serving ideas. Whether you’re an experienced baker or a complete beginner, this recipe will quickly become a favorite in your kitchen arsenal.
🧁 What Is a No-Bake Licorice Allsorts Slice?
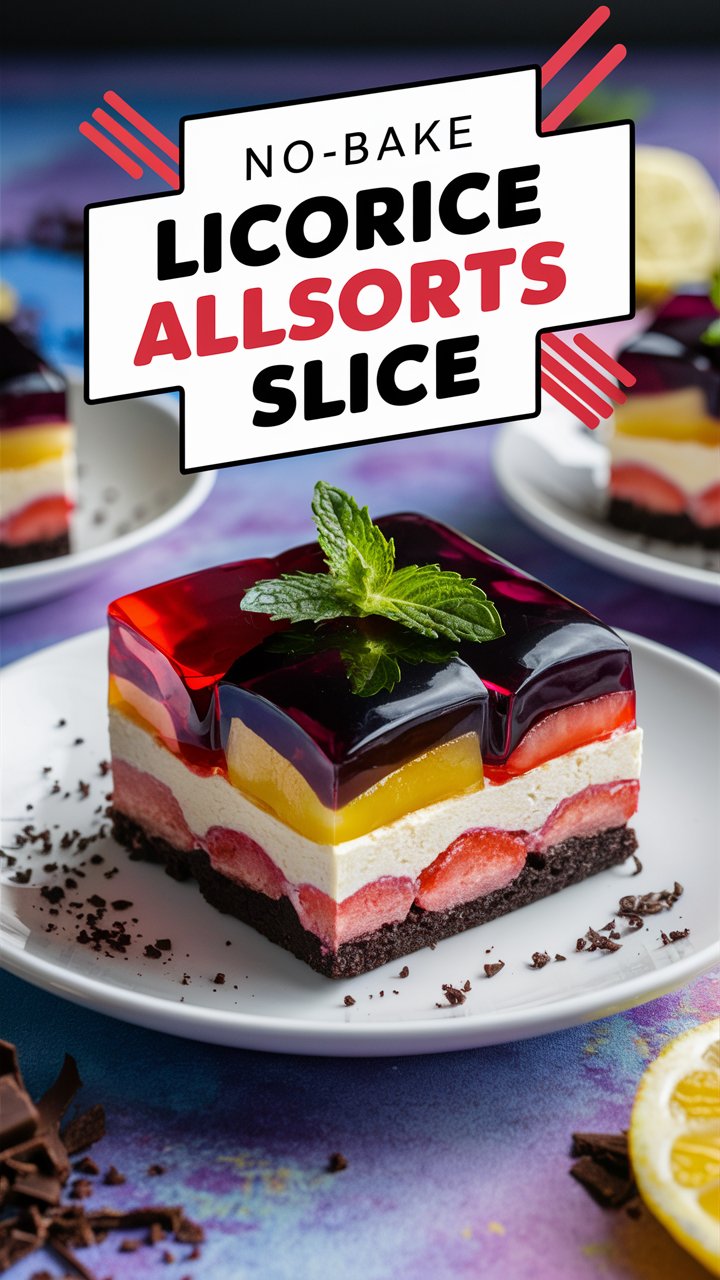
The No-Bake Licorice Allsorts Slice is a layered dessert bar featuring a base made of crushed biscuits, a creamy and colorful coconut layer, and a decadent dark chocolate topping sprinkled with chopped licorice allsorts. With no baking involved, the slice is set in the refrigerator, making it a great option for hot weather or busy days.
Inspired by the classic British candy—licorice allsorts—this dessert embraces fun colors and a chewy texture that appeals to kids and adults alike.
🌟 Why You’ll Fall in Love With This Slice
This no-bake dessert isn’t just about saving time. It’s a sweet experience packed with benefits:
- ✅ Effortless Preparation: No oven, no fuss—just mix, layer, chill, and enjoy.
- ✅ Kid-Friendly Appeal: The colorful coconut and licorice make it a hit at children’s parties and school events.
- ✅ Make-Ahead Convenience: Prepares beautifully a day in advance, ideal for parties and gatherings.
- ✅ Gluten-Free Friendly: Simple swaps make it safe for gluten-sensitive eaters.
- ✅ Customizable: From color variations to different toppings, you can make this slice your own.
- ✅ Instagram-Worthy: Its vibrant look is practically begging to be photographed.
🛒 Ingredients: What You’ll Need
Here’s your shopping list for making this delightful slice. All ingredients are easy to find and pantry-friendly.
✨ Base:
- 150g plain tea biscuits (Marie biscuits or any neutral-flavored cookie)
- 50g butter, melted
- 3 tbsp sweetened condensed milk
✨ Coconut Layer:
- 3½ cups desiccated coconut
- 1 cup icing sugar (powdered sugar)
- 395g sweetened condensed milk
- Pink and green food coloring (or your favorite colors)
✨ Topping:
- 200g dark chocolate (chopped or chips)
- 1 tbsp coconut oil
- 1 packet licorice allsorts (chopped into small pieces)
🥄 Equipment Checklist
- 20cm x 20cm (8×8 inch) baking tin
- Baking/parchment paper
- Mixing bowls
- Microwave-safe bowl (for chocolate)
- Spatula or flat spoon
- Food processor or zip-lock bag and rolling pin
🍽 Step-by-Step Instructions
Step 1: Prepare the Tin
Line your square baking tin with parchment paper. Let the paper hang over the edges—this helps lift the slice out easily after chilling.
Step 2: Make the Biscuit Base
- Crush biscuits into fine crumbs using a food processor or a rolling pin.
- Mix the crumbs with melted butter and 3 tablespoons of condensed milk until combined.
- Press firmly into the base of your tin and refrigerate for 15–20 minutes while you prepare the coconut layer.
Step 3: Create the Coconut Mixture
- In a large bowl, combine desiccated coconut, icing sugar, and the full tin (395g) of condensed milk.
- Mix until fully combined—it should be sticky and moldable.
Step 4: Add Color
- Divide the mixture into three equal parts.
- Leave one part white.
- Color the second part pink and the third part green.
- Mix each until the color is well distributed.
Step 5: Layer the Coconut
- Remove the tin from the fridge.
- Layer the colored coconut mixtures one by one:
- Press the white layer first, then pink, then green—or swirl the three colors for a marbled effect.
- Press each layer down firmly for even slices later.
Step 6: Add the Chocolate Topping
- Melt dark chocolate with coconut oil in 30-second bursts in the microwave, stirring each time until smooth.
- Pour the melted chocolate over the layered coconut and spread evenly.
- Sprinkle chopped licorice allsorts over the top while the chocolate is still soft.
- Chill the slice for at least 2–3 hours or overnight for best results.
💡 Pro Tips for Success
- Warm Your Knife: Use a hot, dry knife to cut the slice cleanly without cracking the chocolate.
- Use a Measuring Cup: Press layers down with a flat measuring cup to keep things neat and uniform.
- Go Beyond Pink & Green: Try using pastel blues, purples, or yellows for a birthday party or themed event.
- Opt for Quality Chocolate: This isn’t the place to cut corners—use the best chocolate you can afford.
- No Licorice? No Problem! Swap in jelly beans, gummy candy, or even sprinkles.
🎉 Creative Variations to Try
Why stick to the classic when you can put your own spin on it?
💫 Nutty Version
- Add ½ cup of chopped almonds or pistachios to the coconut mixture for a nutty crunch.
💫 Fruity Fun
- Mix in diced dried fruits (like apricots or cherries) for added sweetness.
💫 White Chocolate Delight
- Replace dark chocolate with white chocolate and drizzle with raspberry syrup for a fruity finish.
💫 Rainbow Party Slice
- Divide the coconut into five or six portions and color them like a rainbow for birthday fun.
📦 Storage & Shelf Life
- Fridge: Store in an airtight container in the refrigerator for up to 7 days.
- Freezer: Slice and wrap individually. Store in a freezer-safe container for up to 2 months. Thaw overnight in the fridge before serving.
🍴 Serving Suggestions
- Serve with hot tea or coffee as an afternoon pick-me-up.
- Cut into mini squares and add to a dessert platter.
- Wrap in clear plastic and tie with ribbon for edible gifts.
- Pair with vanilla ice cream for a dreamy dessert duo.
- Let kids decorate the top with themed candies for holidays or birthdays.
📊 Nutrition Info (Per Slice)
Note: Values are approximate based on 16 slices.
- Calories: 320 kcal
- Total Fat: 18g
- Carbohydrates: 38g
- Sugars: 30g
- Protein: 3g
- Fibre: 2g
❓ Frequently Asked Questions
Q: Can I make this slice gluten-free?
Yes! Simply replace the biscuits with gluten-free tea biscuits or cookies.
Q: Do I need to use food coloring?
Not at all—it’s just for appearance. You can skip it or use natural colors from beet juice or spinach powder.
Q: My chocolate cracked while slicing. What went wrong?
Try letting the slice sit at room temperature for 10 minutes before cutting, and use a warm knife.
Q: Can I use other candy besides licorice allsorts?
Absolutely—feel free to top with crushed mints, M&Ms, gummy bears, or anything you like.
📝 Final Thoughts
The No-Bake Licorice Allsorts Slice is more than just a dessert—it’s an experience. It’s about tapping into your creativity, embracing color and flavor, and sharing a treat that brings smiles to every face at the table.
Whether you’re making it for a school event, a family party, or a solo indulgence, this recipe checks all the boxes: simple, beautiful, adaptable, and undeniably delicious.